In this post, we set up Apache Airflow as part of the preparation to convert our ETL code into a full-fledged data pipeline.
The Series
This is the third post in my series, Towards Open Options Chains: A Data Pipeline for Collecting Options Data at Scale:
- Database Design
- Foundational ETL Code
- Getting Started with Airflow
- Building the DAG
- Containerising the Pipeline
Recap of Use Case
The use case for the data is to run backtests of options trading strategies. Therefore, the data pipeline must collect sufficiently fine-grained data for us to do backtests. This means we’ll need options prices, volumes, and the options greeks (e.g. delta, theta, and gamma), collected at sufficiently high frequency.
About Airflow
Airflow is a “a platform created by the community to programmatically author, schedule, and monitor workflows” [1]. It is often used for building and running batch data pipelines. As a tool that’s written in Python, it is extremely flexible. You can use the wide range of pre-built integrations, or write your own integrations to other services. It is also highly scalable with its ability to orchestrate any number of workers.
Installation
Installing Airflow is straightforward. We use the official instructions for installing from the Python Package Index (PyPI). Specifically, we use the installation code from the section Installing Airflow with extras and providers with only the postgres dependency. To keep our environment clean, we install Airflow in a dedicated environment. I use Conda, but you can use any dependency manager to achieve the same thing.
AIRFLOW_VERSION=2.2.3
PYTHON_VERSION="$(python --version | cut -d " " -f 2 | cut -d "." -f 1-2)"
CONSTRAINT_URL="https://raw.githubusercontent.com/apache/airflow/constraints-${AIRFLOW_VERSION}/constraints-${PYTHON_VERSION}.txt"

# Create and activate new Conda environment
conda create -n airflow
conda activate airflow

pip install "apache-airflow[postgres]==${AIRFLOW_VERSION}" --constraint "${CONSTRAINT_URL}"
And that’s it for installation! I personally did not encounter any errors after installation. But if you do run into an error, do what any resourceful programmer would: Google it.
Setup
The airflow folder should now be created in /root/. We will now change some configurations:
- Change Airflow’s backend database from SQLite to Postgres. A huge benefit if you’re running this solution locally is that it allows you to use Airflow’s
LocalExecutor, which can run tasks as sub-processes *in parallel. The defaultSequentialExecutorcan only run tasks one at a time. - (Optional) Stop the display of DAG examples. They clutter up the Airflow UI - you’ll see.
Look for the variables in /root/airflow/airflow.cfg and change them accordingly:
# sql_alchemy_conn = sqlite:////root/airflow/airflow.db - Comment this out
sql_alchemy_conn = postgres+psycopg2://postgres:<your postgres password>@localhost/postgres

# load_examples = True - Comment this out
load_examples = False
Now, we’ll initialise Airflow. In a new bash terminal:
# Check connection to Postgres
airflow db check

# Initialise database with Postgres
airflow db init

# Create new admin user
airflow users create -u <username here; consider using "admin"> -p <password here> -f <first name> -l <last name> -r Admin -e <your email, or a bogus one>
Launch Airflow
To launch Airflow, you’ll need two terminals. In the first one, run the command below. Airflow’s scheduler is the persistent service that monitors all tasks and DAGs, and coordinates the triggering of tasks instances.
airflow scheduler
In the second terminal, run the command below to serve Airflow’s gorgeous UI:
airflow webserver
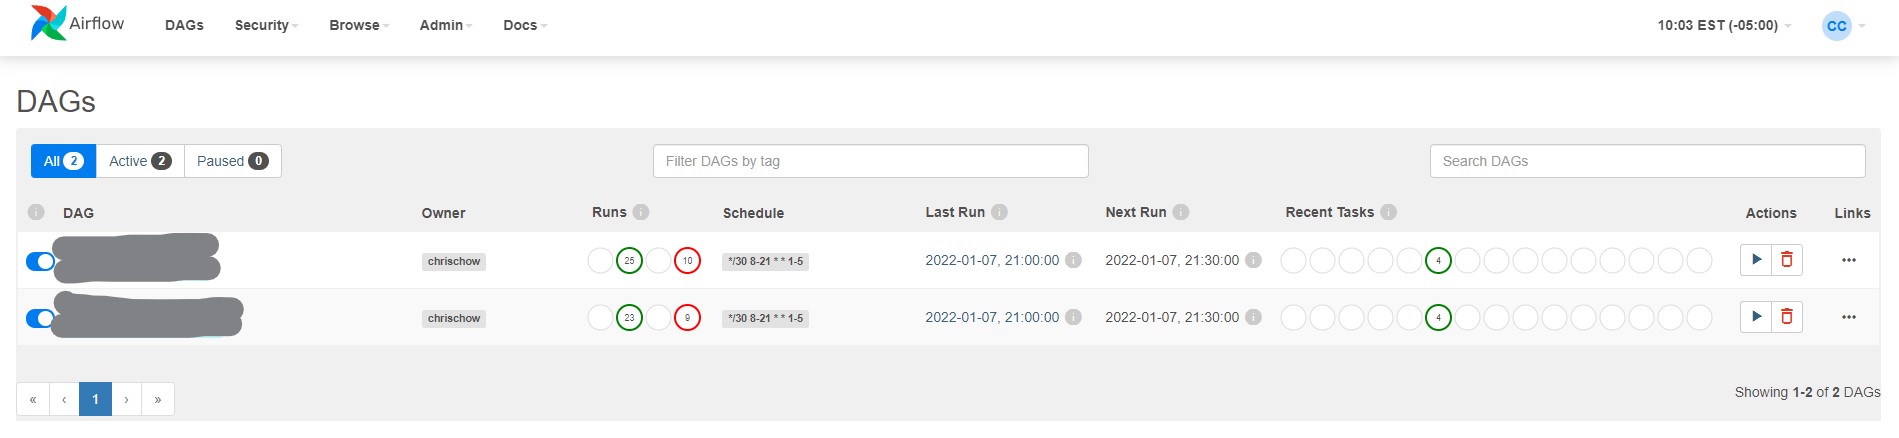
In a browser window, navigate to the URL provided in the terminal. This should be similar to http://localhost:8080. Log in with the username and password you chose previously, and you’ll be directed to the Airflow UI:
Leave both of these bash terminals open so you can start/stop Airflow if required.
Settings via Airflow UI
Airflow allows you to incorporate settings via its UI. We will need to configure some simple variables and connections.
Create Variables
You can probably already guess that Airflow variables behave like environment variables. Thus far, we have set two: (1) API key to the TD Ameritrade (TDA) API, and (2) your database password. We will create an Airflow variable for each of them.
In the UI, navigate to Admin on the top menu bar, and select Variables in the dropdown menu. Click the add icon (+) to add a new variable. I’ve used the keys API_KEY and DB_PASSWORD, respectively.
To access these variables in a DAG, we do the following later on:
from airflow.models import Variable

# Get variables
API_KEY = Variable.get('API_KEY')
DB_PASSWORD = Variable.get('DB_PASSWORD')
Create Connection
Earlier on, we used psycopg2 to connect Python to our Postgres database. However, since we’re using Airflow to run the ETL job, we can leverage Airflow’s Hooks. Hooks simplify the code needed to interact with other services (e.g. databases). See below for a simple comparison for our use case:
# The psycopg2 way
import psycopg2 as pg2
from airflow.models import Variable
DB_PASSWORD = Variable.get('DB_PASSWORD')
conn = pg2.connect(host='localhost', database='optionsdata',
                   user='postgres', password=DB_PASSWORD)
query = '...'
with conn.cursor() as cursor:
    cursor.execute(query)
    df = pd.DataFrame(cursor.fetchall(), columns=...)
conn.close()

# Using Airflow Hooks
from airflow.providers.postgres.hooks.postgres import PostgresHook
pg_hook = PostgresHook(postgres_conn_id='postgres_optionsdata')
query = '...'
df = pg_hook.get_pandas_df(query)
In addition, every time we need to make a connection to the optionsdata database, we have to repeat the code above. First, using the Hook method achieves the same thing in fewer lines of code. Second, if we don’t have the host, database, user, or password on hand, we need not worry - we can just use the connection ID.
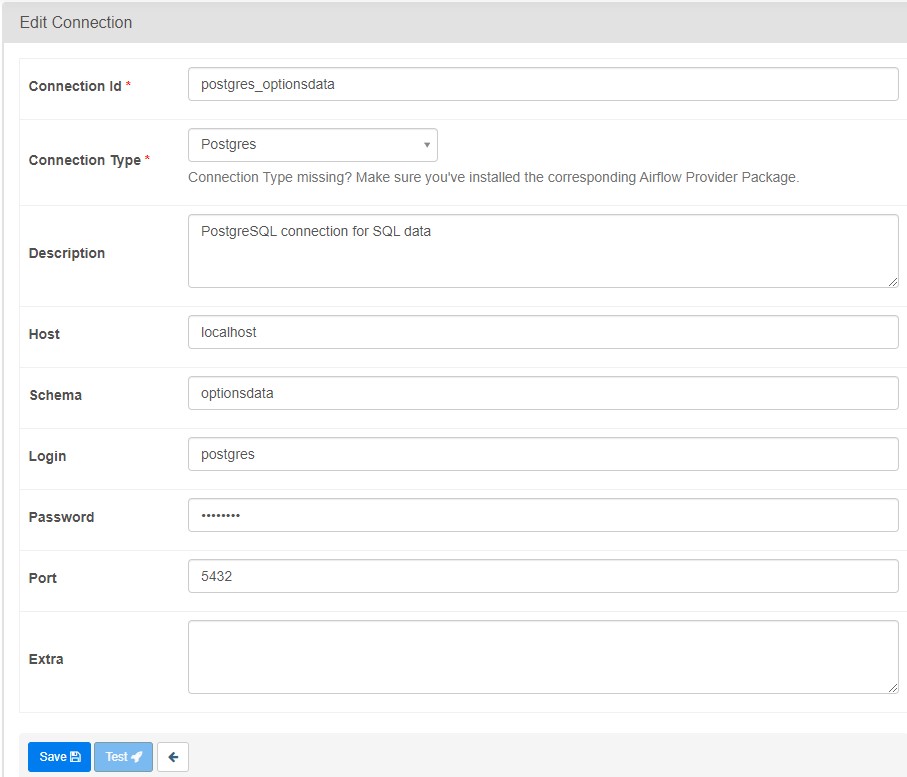
To create the connection, navigate to Admin on the top menu bar, and select Connections in the dropdown menu. Click the add icon (+) to add a new connection. Fill in the details accordingly, selecting Postgres as the connection type, and entering the database name in the “schema” field.
Summary
In this post, we achieved the following:
- Installed Airflow locally
- Switched the backend to Postgres
- Initialised Airflow
- Created variables and connections
With that, we are ready to move our pipeline into Airflow. In the next post, we will create Directed Acyclic Graphs (DAGs), which define the tasks and dependencies for workflows on Airflow.
Credits for image: Kevin Ku on Unsplash
References
- Installation from PyPI, Apache Airflow Documentation
- Connection & Hooks, Apache Airflow Documentation